Benefits of Composting at Home
Composting at home offers numerous advantages. It helps both the environment and the community.
Environmental Impact
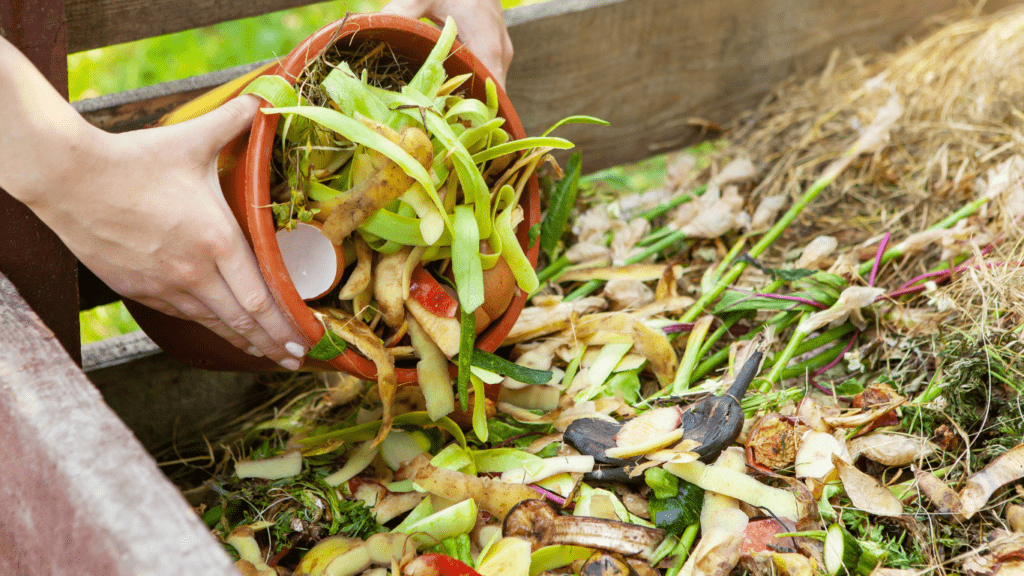
Composting reduces landfill waste, lowering greenhouse gas emissions. According to the EPA, food scraps and yard waste comprise about 30% of what we throw away.
Composting transforms this waste into nutrient-rich soil, enriching soil biology and structure. Compost reduces the need for chemical fertilizers, which can harm local ecosystems. By composting, I contribute to a sustainable cycle, conserving natural resources.
Personal and Community Benefits
Home composting saves money by reducing the need for buying soil and fertilizers. My plants thrive with homemade compost, often yielding better results.
Shared composting systems in communities foster cooperation and resource optimization. These systems reduce municipal waste management costs, benefiting everyone.
Plus, composting educates families and neighbors about sustainable practices. By composting, I enhance my garden’s health and support my community’s environmental efforts.
Essential Composting Supplies
Starting composting at home requires specific supplies to ensure the process runs smoothly. Below, I outline the crucial components needed.
Choosing the Right Compost Bin
Selecting a compost bin that suits your space and needs is essential. There are various types:
- Tumbling Bins: Rotatable and enclosed, they speed up decomposition and reduce odors. Great for small spaces.
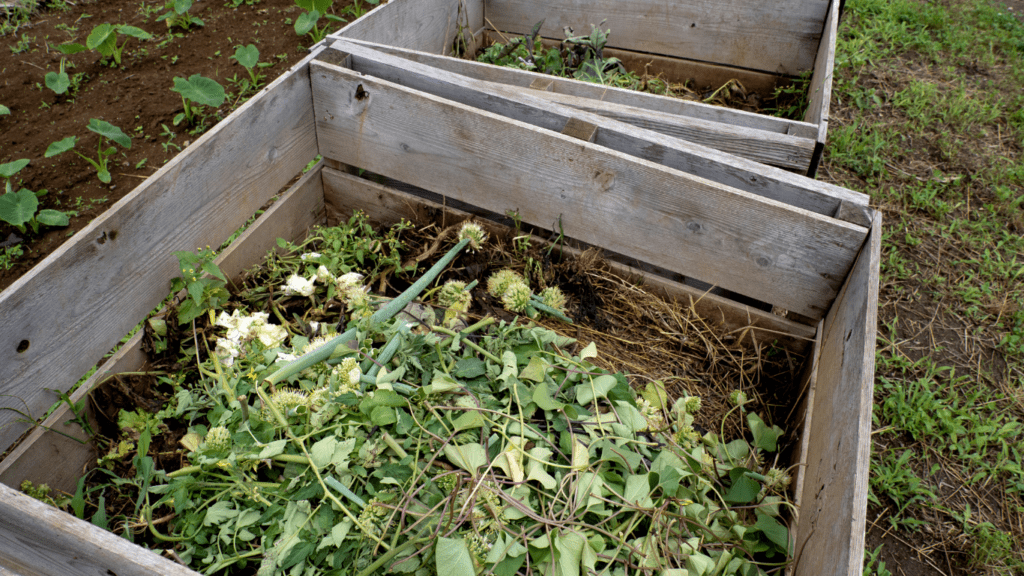
- Stationary Bins: These bins remain in one spot and are open or closed. They work well for larger gardens.
- Worm Bins: Ideal for indoor use, these bins house worms that consume food scraps, producing nutrient-rich compost.
Tools to Facilitate the Process
Utilizing the right tools can streamline composting:
- Aerator: A compost aerator ensures proper oxygen flow, essential for breaking down organic matter efficiently.
- Thermometer: Monitoring temperature helps maintain the optimal range (135-160°F) for microbial activity.
- Shovel: A sturdy shovel enables easy turning and transferring of compost.
- Compost Crock: A kitchen compost crock stores scraps until they’re ready for the bin, preventing odors.
- Screen: A screen sifts finished compost to separate larger, undecomposed pieces.
Having the correct compost bin and tools ensures a successful and hassle-free composting experience at home.
Setting Up Your Compost Bin
Starting the compost process at home involves setting up an optimal bin and preparation for efficient compost production.
Selecting the Location
Place the compost bin in a well-drained, accessible location. Ensure it’s not too far from the kitchen, making it easy to add kitchen scraps. Avoid areas with extreme sun or shade to maintain consistent moisture and temperature. Keep the bin away from windows and neighbors to avoid potential odors.
Preparing the Bin Setup
Select a bin type based on your needs—tumbling, stationary, or worm bins. Choose materials that allow aeration, like wood, plastic, or metal. To start, layer brown materials, such as:
- dry leaves
- paper
followed by green materials like vegetable scraps and coffee grounds. Maintain a balance of greens and browns for efficient decomposition.
Use an aerator to mix the compost and add oxygen, speeding up the composting process. Periodically check moisture levels; the compost should be as damp as a wrung-out sponge. Add water if too dry or dry materials if too wet. Keep the bin covered to reduce pests and retain moisture.
Having a thermometer helps monitor the compost’s temperature, ensuring it stays in the ideal range of 135-160°F for microbial activity. Turn the compost regularly to ensure even decomposition.
With these steps, your compost bin will be set up properly, laying the groundwork for producing nutrient-rich compost.
What to Compost and What Not to Compost
Composting at home requires understanding which materials to add and which to avoid. A balanced mix ensures the composting process runs efficiently.
Greens and Browns: Balancing Your Inputs
Balancing greens and browns in your compost is essential. Greens include nitrogen-rich materials like fruit and vegetable scraps, coffee grounds, and grass clippings.
Browns provide carbon and include items like dry leaves, straw, and cardboard. For example, kitchen scraps fall into the greens category, whereas shredded newspaper and dried plant trimmings are browns. Combining both types creates the right environment for microorganisms to thrive.
Items to Avoid in Your Compost Bin
Certain items shouldn’t go into your compost bin. Avoid adding meat, dairy products, and oily foods as they attract pests and cause odors.
Similarly, avoid pet waste, treated wood, and diseased plants since they can introduce harmful pathogens. Adding bones, synthetic chemicals, and glossy paper is also detrimental to compost quality.
For instance, pet waste can contain harmful bacteria, and treated wood may leach chemicals. Stick to natural, biodegradable materials for the best results.
Composting Techniques and Tips
Efficient composting relies on specific techniques. These ensure a productive composting system and a high-quality compost output.
Aerating Your Compost
Aerating your compost is crucial for providing oxygen to microorganisms. Regularly turning the pile expedites the decomposition process. Use aeration tools or a pitchfork every 1-2 weeks to mix materials evenly.
Gastrointestinal content balancing also improves by turning, providing adequate nitrogen and carbon distribution. Tumbling compost bins simplify this step.
Keeping Your Compost Healthy
Maintaining the health of your compost requires monitoring moisture levels and temperature. Aim for a moist, wrung-out sponge texture.
Add water during dry spells and incorporate dry materials like leaves if it gets too wet. Include a mix of brown and green materials in equal parts. Use a compost thermometer to keep the pile’s core temperature around 135°F to 160°F, which aids in pathogen elimination.
Troubleshooting Common Issues
Even with meticulous care, composting can present challenges. Here are effective solutions for common issues.
Managing Odors
Odors typically arise from imbalanced compost piles. When compost piles decompose anaerobically, they can emit foul smells. To manage this, first ensure the proper balance of green and brown materials.
Greens (vegetable scraps, grass clippings) provide nitrogen, while browns (dead leaves, cardboard) offer carbon. For example, mix one part greens to three parts browns.
Turn the compost pile frequently to introduce oxygen, aiding aerobic decomposition. Using an aerator or pitchfork, turn the pile once a week.
Keep the pile as moist as a wrung-out sponge to support microbial activity without creating waterlogged conditions. Avoid adding dairy, meat, and oily foods as these attract pests and cause odors.
Accelerating Composting Speed
To speed up composting, consider these techniques. First, chop materials into smaller pieces before adding them to the compost pile. Smaller pieces have more surface area for microbes to break down, accelerating decomposition. A rule of thumb: aim for pieces no larger than 2 inches.
Maintain an optimal temperature range within the pile. Use a compost thermometer to monitor the core temperature, keeping it between 135°F and 160°F.
This range ensures efficient breakdown and pathogen elimination. If the pile cools down, add more greens to generate heat.
Frequent turning also accelerates composting. Turn the pile every few days instead of weekly. This evenly distributes materials, moisture, and microbes throughout the pile, effectively speeding up the process.
If you’re short on time, consider adding a compost accelerator or activator to introduce beneficial microbes directly into the pile.
 Heather Smithkers - Innovative Eco-Author at Green Commerce Haven
Heather Smithkers is a creative and forward-thinking author at Green Commerce Haven, where she brings a unique perspective to the world of sustainability. With a flair for storytelling and a deep commitment to environmental advocacy, Heather crafts engaging content that resonates with eco-conscious readers. Her work delves into the latest trends in green startups, organic products, and sustainable living, offering fresh insights and practical advice. Heather’s innovative approach to writing helps demystify complex environmental topics, making them accessible and inspiring to a broad audience.
Heather Smithkers - Innovative Eco-Author at Green Commerce Haven
Heather Smithkers is a creative and forward-thinking author at Green Commerce Haven, where she brings a unique perspective to the world of sustainability. With a flair for storytelling and a deep commitment to environmental advocacy, Heather crafts engaging content that resonates with eco-conscious readers. Her work delves into the latest trends in green startups, organic products, and sustainable living, offering fresh insights and practical advice. Heather’s innovative approach to writing helps demystify complex environmental topics, making them accessible and inspiring to a broad audience.